Squeeze every last drop out of GMaudio Squeeze!
Squeeze every last drop with GMaudio GMaudio Squeeze is a Multi-band Upward Compressor. Its effects can range from normalization and loudness enhancement, to complete sonic
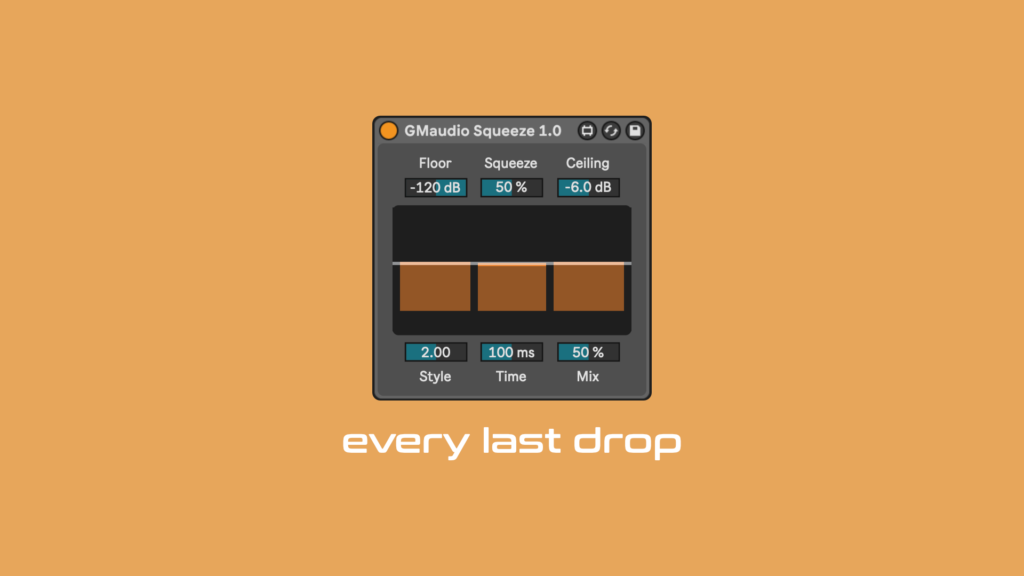
GMaudio Squeeze is a Multi-band Upward Compressor.
Its effects can range from normalization and loudness enhancement, to complete sonic destruction.
But in this article we’re going to discuss it in depth, so you can squeeze every last drop out of GMaudio Squeeze!
The conception of this device is quite interesting and demonstrates how modern music is influenced,
not only by technology, but also internet culture.
First let’s start with OTT, or Over The Top, the famous preset for Live’s Multiband Dynamics. It was so popular in EDM and Bass music that Xfer Records created their own plugin version that you can download for free (It was their second plugin after LFO Tool). There’s other iterations of it as well, like Bram Bos ‘WOOTT’, which is now a Universal AUv3, so it works on Mac and iOS. Safe to say it has history and it has touched years of electronic music by this stage, chances are some of your favourite artists have used it at least once.
I thought it was a bit silly at first and that the name was well suited, but over the years the concept of it grew on me and I made my own presets that considered its effects. Multiband Dynamics is a great device and a very welcome addition to Live’s native effects library but I always had some issues with it, which is why I developed PentaComp, and now Squeeze. My main issues were that it could not be used in parallel and that the interface was not very intuitive, not bad but not great.

I was actually working on a peak limiter when I stumbled across the concept of Squeeze. In my initial social media efforts I called it a peak expander because it was practically the exact opposite of what I was working on, but that was the incorrect terminology. I essentially had a very accurate brickwall peak limiter that was very low latency, sounded great and used very little CPU. My goal was to turn this into a multi-band limiter but I haven’t quite gotten there, as it’s difficult to develop a multi-band version and the final ceiling remain 100% accurate. Somewhat frustrated I was ‘dilly dallying’ in Max and thought, what If I divide the incoming signal by the detected peak level to normalize every single sample of audio up to 0dB! Squeeze was born…
When I showed this proof of concept to some users in my Discord, they said that it was like a Doom Compressor. I had seen the term and a device before, but it was much like OTT for me, quickly forgotten amongst the many jobs and tasks I seem to give myself. Regardless, I 100% accidentally created a Doom Compressor, albeit with a different implementation. The Doom Compressor was a sound designer’s way to achieve unruly and unheard sounds for the game, Doom. The definitive video on it can be seen here.
From there I developed Squeeze more deeply, so I had a point of difference over every similar product I could find, something I pride myself on since delving into the depths of digital signal processing in recent years. First thing on my list was to create the crossover filters for multi-band processing. I wanted the multi-band processing to balance the signal closer to pink noise (which is theoretically perfectly balanced) as well as work well in parallel.
6dB (or first order) crossovers are the simplest, you get outputs that are in phase, great for parallel processing and only require a crossfade to blend from single band to multi-band operation. To find the crossover frequencies, I ran pink noise into the 3 band crossover and adjusted the frequencies until I got a small and manageable difference between each band in LUFS. This allows Squeeze to balance the signal perceptually closer to an ideal balance, but from there I adjusted the levels at which Squeeze normalises to for each band, so that it resembled the famous mid scoop of OTT, but less prominent.
From there, I added the ability to set the Floor and minimise Squeeze’s effects, then noticed I needed an adjustable ceiling to get better control when using lower ‘Mix’ values. All that was left then was to create a visualization of the parameters to make it easier for people to understand the effect of the parameters and scale the parameters to have a wide usable range. After all this, we arrived at the public release version of Squeeze!
There are no rules for using Squeeze. Surprisingly, It’s been great to bring up the tiniest of details from my other devices allowing me to hear where things can be improved. Universe is one of these devices, as you can hear the quantization noise of the filters being modulated due to the filters being from Max’s standard object library and not coded from scratch in gen~ to accept modulation (like I’ve done in recent times). My point being, if there’s any little detail that you want to zoom in on that is low amplitude, Squeeze can make it incredibly obvious.
Time based effects are a goldmine with Squeeze. Delay, Reverb, Chorus-Ensemble, Corpus, Echo, Phasor-Flanger, Shifter, Grain Delay, Hybrid Reverb (especially weird convolutions), Resonator, Spectral Resonator, Spectral Time & Vocoder are all amazing. There is a lot to explore here but the nuggets of gold are in the subtleties, the right parameter values, effect combinations and a moderate dry/wet can add an otherworldly sonic aesthetic to your sound. Erosion is also cool for adding some extra top end sizzle, and Jitter from Redux can soften and excite the high frequencies making some things more palatable and prominent. I’ve made a quick rack for this so you can try it for yourself called, ‘FS – Sizzle’.
For any of this to work, Squeeze should be the last effect in the Device Chain. Choosing the right sound to begin with also helps. Anything that is recorded with from hardware sounds amazing, as all the minute details are brought up, such as ambient or electrical noise. Samples of Drum Machines are great, but also Drift, as it is a virtual analog synthesizer and has remnants of noise like a real analog synthesizer. Once you have your sound source and Squeeze after it, put any of the time based effects (mentioned above) between the two and explore the subterranean sonic landscape.
Saturation effects can also be cool (as seen above and in my Youtube Short), with Biasing (Saturators Colour Parameters) making a huge difference to the final output. However, they are very dependent on input signal and may not always yield instantly awesome results. Definitely worth checking out though and if you find something interesting, let us know!
Now, because Squeeze works on peak level, any dynamic effect (Compressor, Limiter, Saturator) can change how Squeeze processes a sound. What can be especially effective is using a Limiter just before, or after Squeeze in your Device Chain, to get a louder final result.
Below are some audio examples, with more details about each sound on SoundCloud.
I’ve also added 3 Audio Effect Racks as a single zip file to GMaudio Squeeze on Gumroad.
The last example is a bit unfair as it was designed with Squeeze from the very beginning, but it highlights its power. Let me know if you want me to break it down in a future video.
FS – Sizzle
Erosion followed by Redux for adding some stereo excitement to sounds.
Place before Squeeze anywhere in your device chain.
FS – Bass Modulator
Saturator, Vocoder, Notch Filter & Limiter for making Bass sounds more juicy.
Place before Squeeze in your device chain.
FS – Squeeze Lab 001
The FX Chain from my Youtube Short.
Place it after a Bass sound and before Squeeze followed by a Limiter or Clipper.
* These racks will only work with Live 11.
If you already have GMaudio Squeeze, you should have access to these via your Gumroad Library
~
Big ups to Ableton, CDM & Gearnews.de for sharing Squeeze!
Thanks for reading!
I hope these tips help you get more out of Squeeze. I will make a video exploring it even more at a later date.
If you find any cool combinations, be sure to leave them in the comments. Let us know what you think of the racks too 😁
Happy Music Making!
Squeeze every last drop with GMaudio GMaudio Squeeze is a Multi-band Upward Compressor. Its effects can range from normalization and loudness enhancement, to complete sonic
There’s no getting around it, mixing electronic music is hard! In this first article I want to highlight what exists when we experience sound while presenting ideas for bringing your music to life!
What makes GMaudio Clipper 2.0 the best clipper for Ableton Live? Its industry leading oversampling of course, making it the first max for live device of its kind, but what does that actually mean?
Are you wondering “how do I use a clipper” or “how does a clipper differ from a limiter”? Then look no further. We will answer both these questions and more, as we compare clippers versus limiters.
Here are 10 steps you can follow to learn Ableton Live, inside and out!
Create complex melodic patterns from a simple, one note input.
One Response
No comments, cept to say I’m very interested in this.